Step 1 – Create an OAUTH token in ServiceNow
The first step is to create OAUTH credentials within ServiceNow that can be used in CoreView.
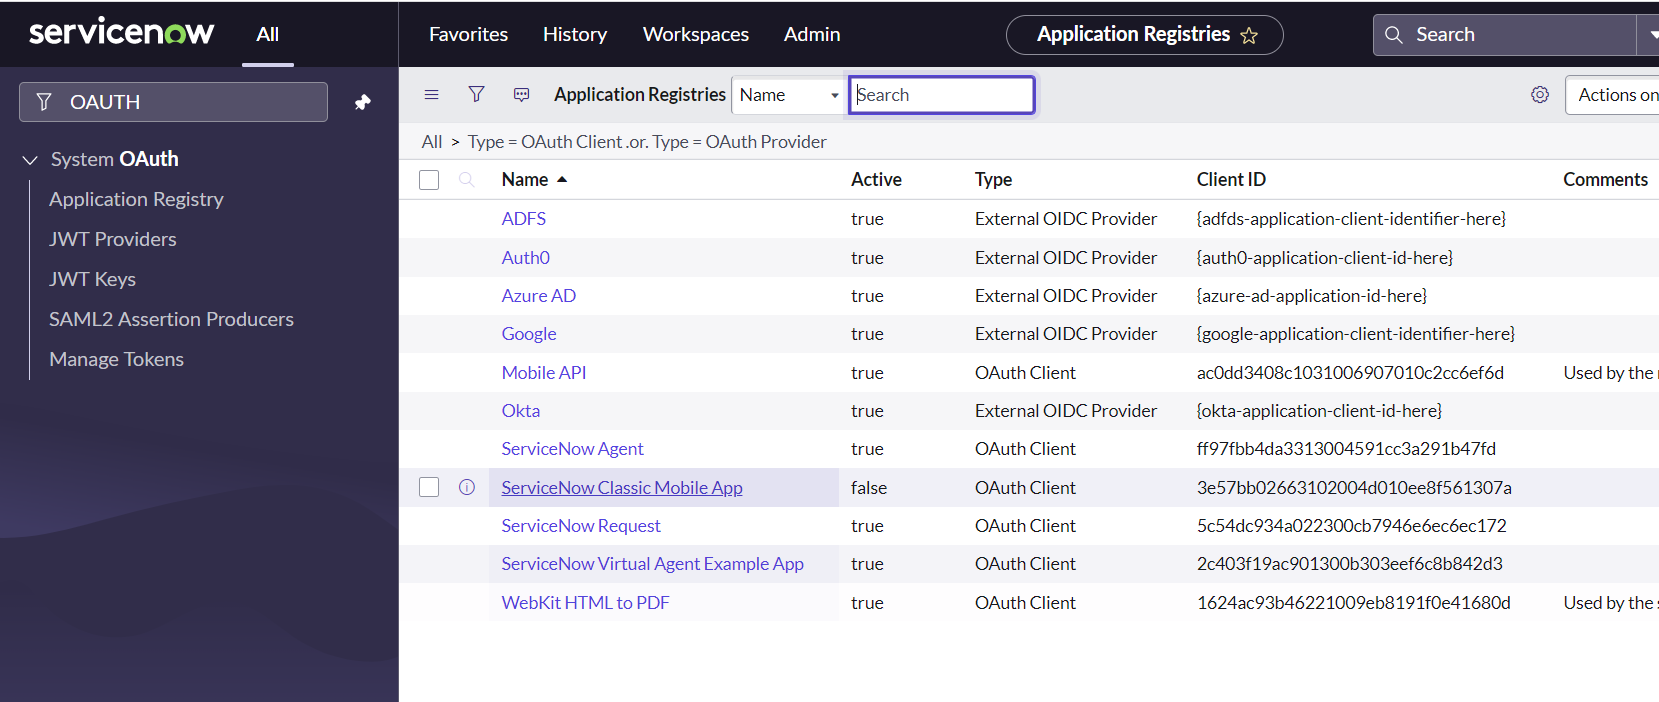
From your ServiceNow instance, search for “OAUTH”. Navigate to Application Registry. Click on “New”.
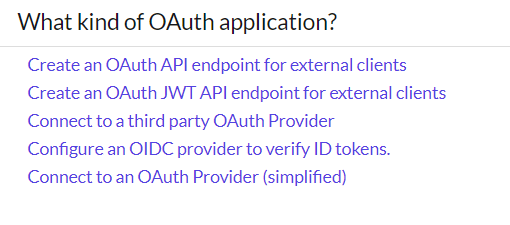
Select “Create an OAuth API endpoint for external clients”.
Enter a name for the OAUTH client and click “Submit“.
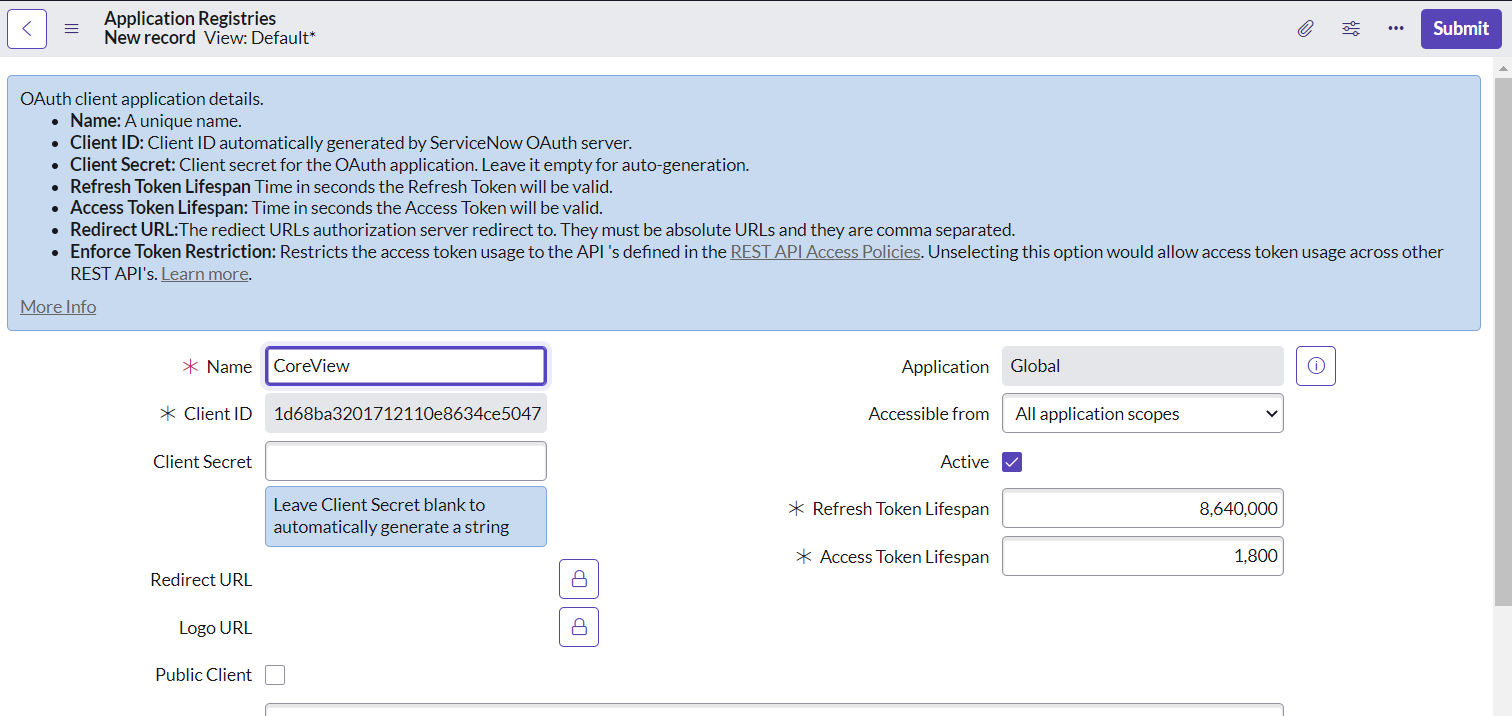
You will edit this later, but before then you will need to collect some information from CoreView.
Step 2 – Get ServiceNow details from CoreView
Before you begin, send a request to CoreView Support for the ServiceNow feature pack to be enabled for your CoreView tenant (FT:SERVICENOW).
Once this has been done, navigate to your “Settings” > “My Organization” > “Settings” menu in CoreView. You will find a new entry for ServiceNow Configuration.
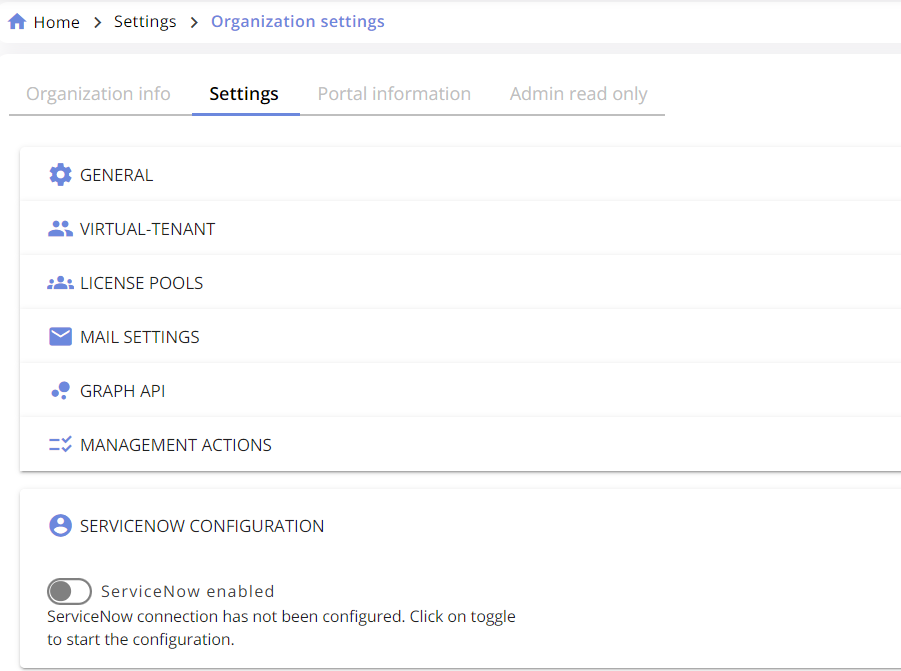
Toggle the switch to “on”.
From here copy the Redirect link. You will now use this to update the OAUTH client in ServiceNow (created in previous step).

Step 3 – Update ServiceNow OAUTH client with CoreView Redirect URL
Go back to ServiceNow and find the OAUTH client you created earlier. In the Redirect URL, paste the URL you just copied from CoreView. You will see that a Client Secret has also been created.
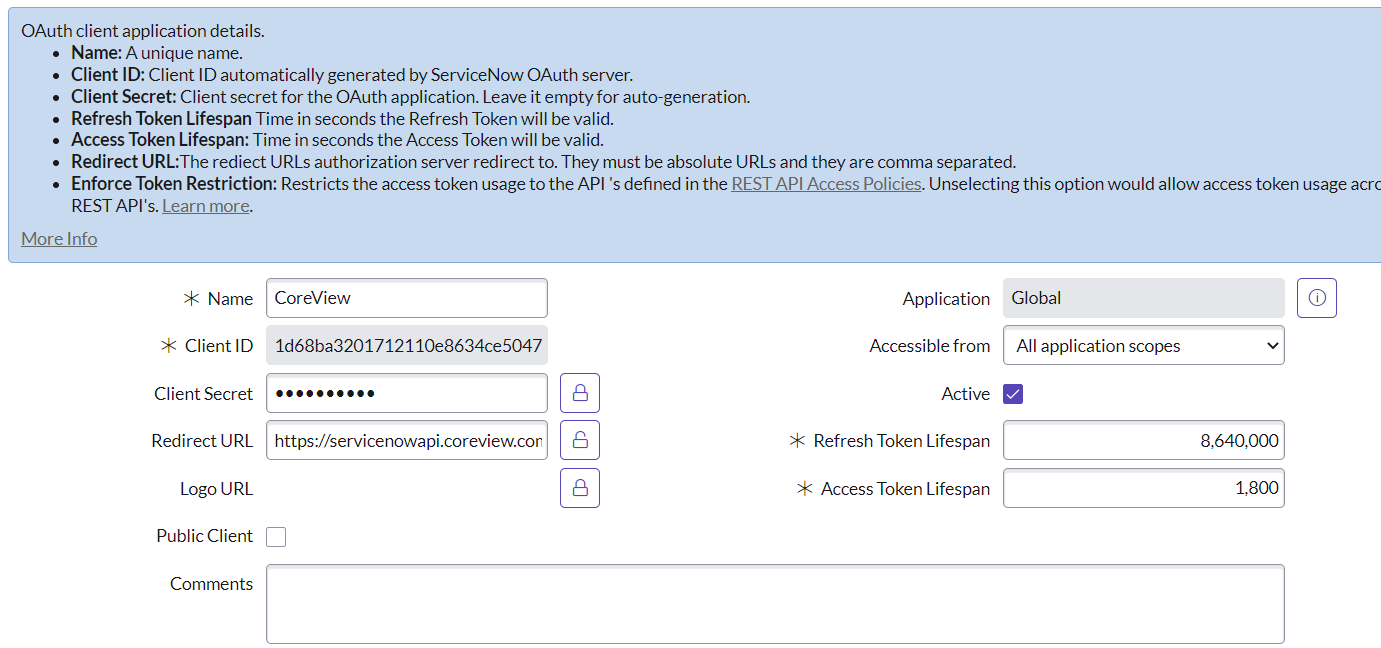
Step 4 – Complete ServiceNow integration in CoreView
Now that you have a Client ID and Client secret in ServiceNow, you can copy these into CoreView.

The instance name should be the first part of your ServiceNow URL – in this case “dev80707”.

For the client secret, you will need to click the padlock next to the item in ServiceNow to make it visible for copying.
Once you have populated the “Instance name”, “Client ID” and “Client secret”, click “Verify”.
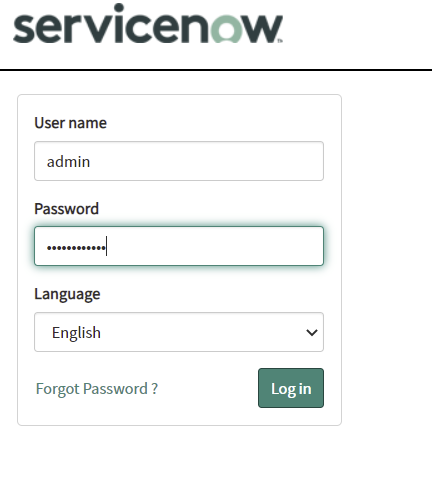
Enter ServiceNow credentials and click Log In. This account must have permissions to create, update and delete entries in ServiceNow tables.
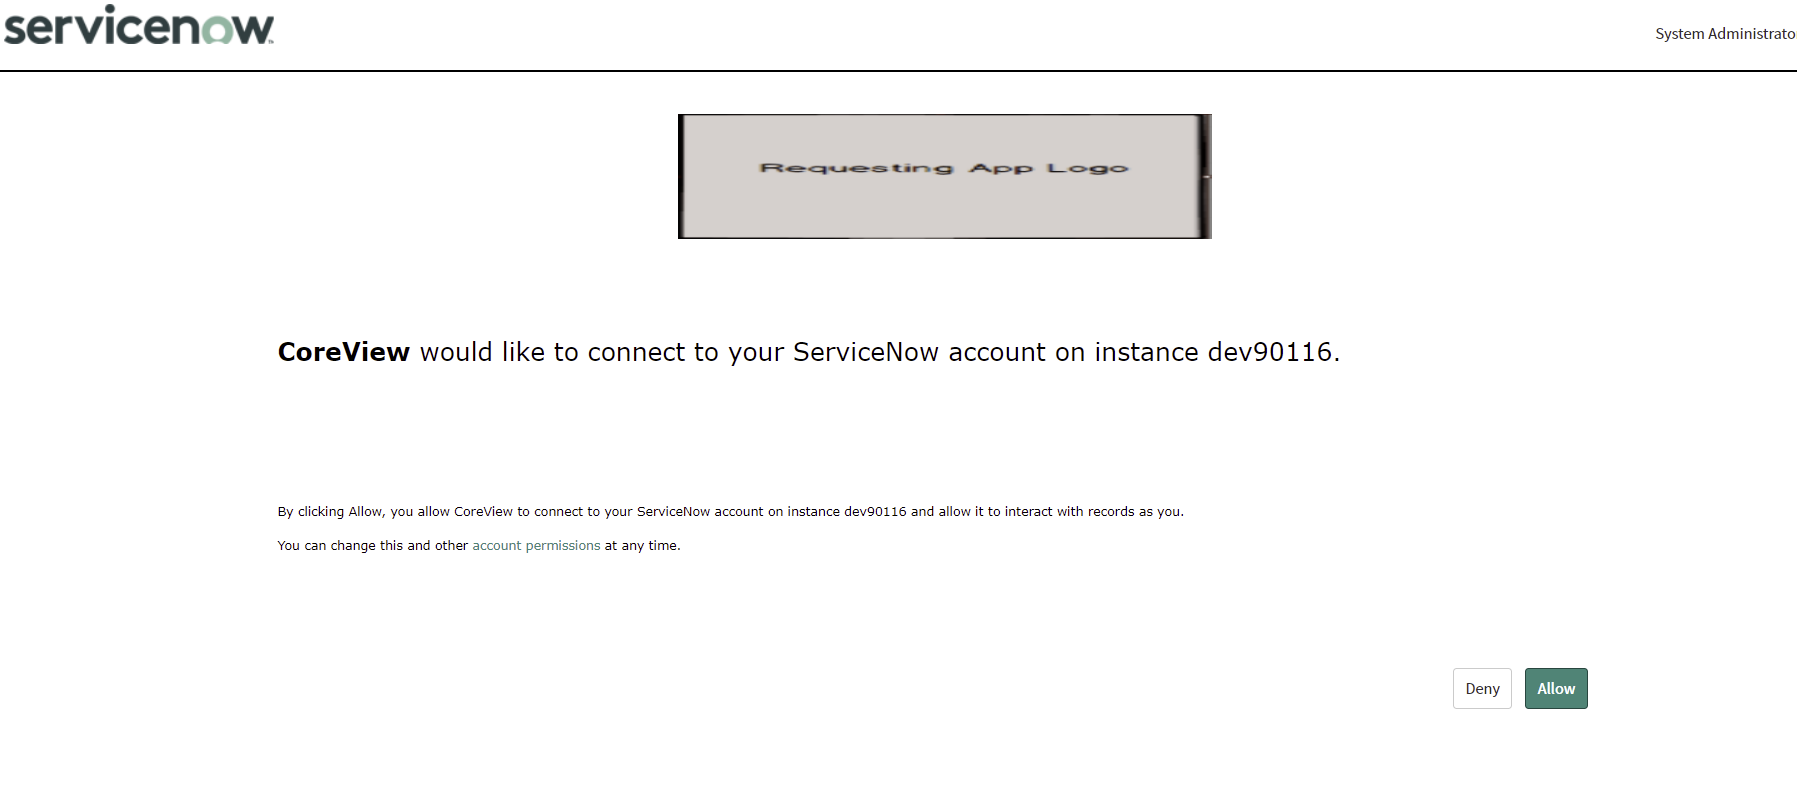
You will be prompted in ServiceNow to allow CoreView to connect to your ServiceNow instance. Click “Allow”.
You will now be returned to CoreView and should see that the connection has been verified and saved.

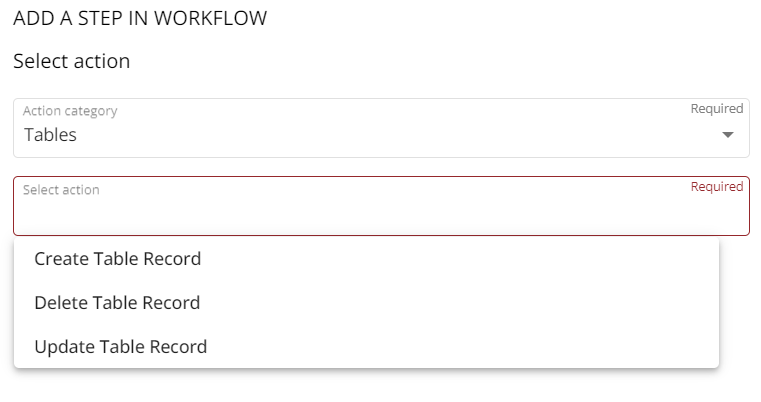
A number of actions for ServiceNow will now be available for use within workflow under the Incident and Tables action categories. Please note that the Incident option is a legacy option from a previous release and will be retired at some point in the future. Instead, the actions available under Tables are the recommended options to select.

